Photography Tips for Underwater Snorkeling in Belize
You drop off the side of a wooden skiff into water that looks like melted turquoise glass. A spotted eagle ray glides five feet beneath your fins, sunlight rippling across its dark wings. You press the shutter on your little action camera, kick back up for air, and later discover that your dream shot looks like a blurry, green smudge taken inside a murky fish tank. Getting good shots while floating on the surface takes a bit of planning, which is why having practical underwater snorkeling photography tips ready before you hit the water makes all the difference.
The barrier reef here sits remarkably close to the surface. That is wonderful news for photographers who do not dive with heavy scuba tanks, because sunlight is your greatest asset. We will walk through everything you need to know about gear choices, proper angles, reef etiquette, and how to actually handle your camera when a three-foot nurse shark swims right across your mask.
Understanding Light and Belize Reef Snorkeling Conditions
Water acts like an aggressive filter that eats warm colors. Red goes first, vanishing almost entirely once you get about 15 feet down. Orange follows shortly after, then yellow, leaving you with that dreaded monochrome blue cast that ruins otherwise crisp vacation photos. While doing Belize reef snorkeling, you actually have a massive advantage over deep divers. Most of the coral heads at spots like Mexico Rocks or the cuts near Ambergris Caye sit in five to twelve feet of water, so you still have plenty of natural light to work with.
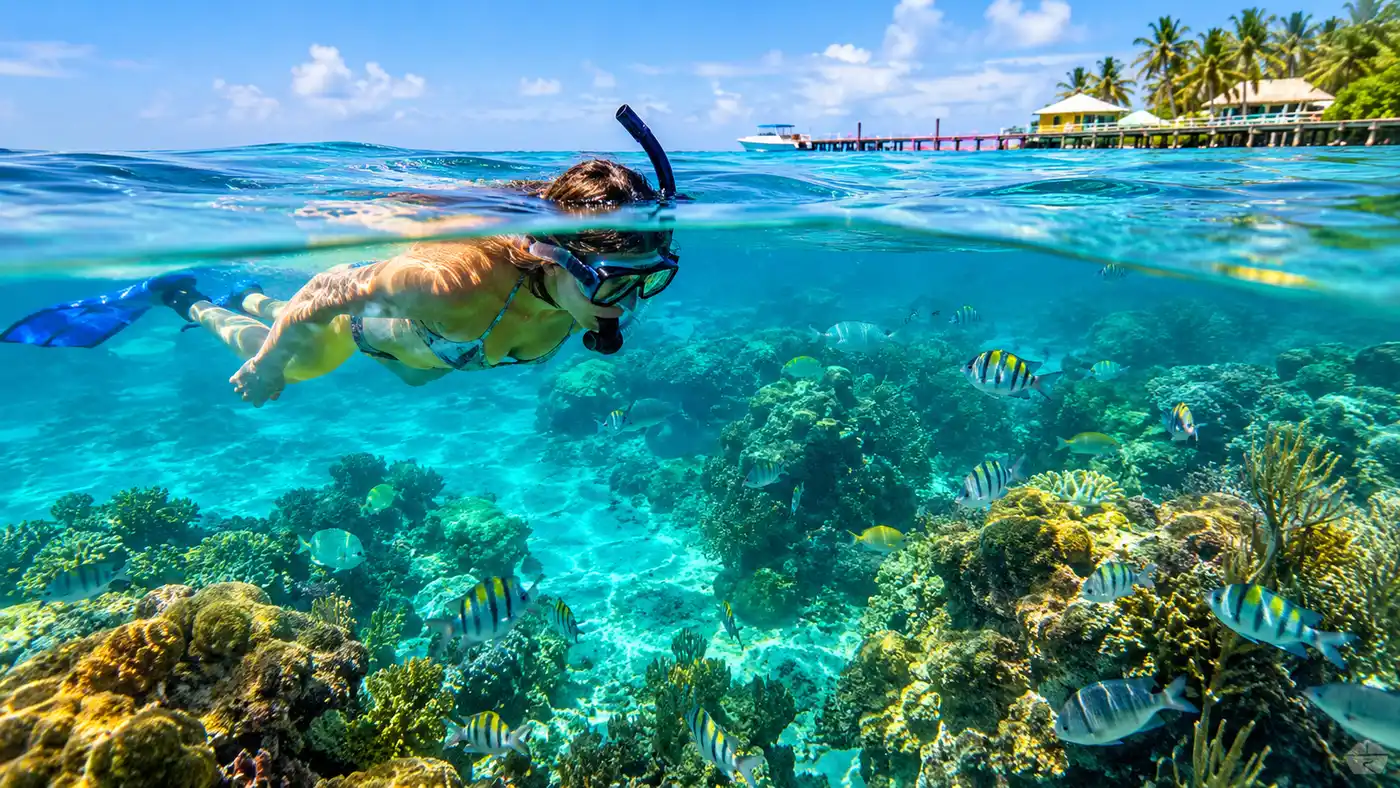
Midday sun is normally the enemy of landscape photographers, but out on the reef, it is your absolute best friend. Between 10:00 AM and 1:30 PM, the sun hits the sea nearly overhead. Light cuts straight down through the swell instead of bouncing off the surface tension like it does at 8:00 AM or late in the afternoon. When the sun penetrates straight down, you capture those vivid orange elkhorn corals and iridescent blue tangs without needing an expensive external video light.
Pro tip: Keep the sun squarely at your back when framing fish. If you shoot toward the sun while bobbing on the surface, your camera sensor gets blinded by surface glare, turning colorful marine life into dark silhouettes.
Water clarity shifts fast depending on winds and tide changes. If you head out right as the tide turns, outgoing water often drags fine sand off the back-reef flats. Check the wind forecast before booking a boat. Anything blowing over 14 knots chops up the surface, churns up white sediment, and introduces micro-bubbles that will coat your dome port and ruin clear shots.
Book your snorkeling san pedro belize experience:
Best Camera Settings for Capturing Colorful Fish Snorkeling
Fish do not hold still. Parrotfish jerk left and right while scraping algae off coral, and wrasses dart about like caffeinated hummingbirds. If you leave your camera on full auto, it will likely drop the shutter speed down to 1/60th of a second to compensate for water density, giving you nothing but motion blur. You need to take manual control or lock down high-speed modes if your gear allows it.
- Shutter speed: keep it at 1/250s minimum for drifting subjects, but push to 1/500s or faster if you are tracking fast-swimming jacks or turtles.
- ISO setting: lock it between 100 and 400. Pushing ISO higher introduces grain that blends terribly with water noise.
- White balance: select underwater white balance mode if your camera has it, or set a custom balance around 5500K to 6500K with a magenta shift.
- Focus mode: continuous tracking autofocus (AF-C) works best for moving marine life, paired with single-point or small-zone focusing.
- Drive mode: use high-speed burst. Firing five frames in a quick second ensures at least one shot catches the fish mid-fin stroke without camera shake.
Do not zoom. I cannot stress this enough. Digital zoom on action cams ruins image resolution immediately, and optical zoom on compact setups cuts down the amount of light entering your lens. If you want a tighter frame, hold your breath, kick down smoothly, and get physically closer. Three feet away is the sweet spot for sharpness.
Gear Options: Matching Rigs to Snorkeling Photography Tips
You do not need a four-thousand-dollar DSLR housing to get stunning images while snorkeling. Honestly, dragging a massive dual-strobe metal housing while kicking around in a mild current gets exhausting after twenty minutes. Compact cameras with tough housings or late-model action cameras mounted on short handheld sticks often produce better results simply because you can swim faster and react quicker.
If you bring a phone, buy an actual vacuum-sealed underwater housing with physical buttons, not a cheap plastic pouch from a beach stall. Those plastic pouches trap air, making them float aggressively, and the clear film warps your lens perspective while collecting moisture on the inside the second you hit chilly water. If you are debating equipment choices, take a look at our guide on what to pack for a Belize snorkeling trip to make sure you do not overlook small essentials like silica moisture strips.
Action cameras benefit immensely from an acrylic dome port. A flat glass lens underwater creates a narrow field of view and cuts edge sharpness, but a dome restores the original wide angle and lets you take those classic split-level shots showing the reef below and the San Pedro sky above.
| Camera Setup | Ideal Depth | Battery Life | Best For |
|---|---|---|---|
| Action Cam with Dome | 0 to 6 feet | 60 - 80 mins | Split-level water shots, wide reef panoramas |
| Waterproof Compact (e.g. TG-6/TG-7) | 3 to 15 feet | 90 - 110 mins | Macro coral details, close-up fish portraits |
| Phone in Vacuum Housing | 0 to 10 feet | 45 - 60 mins | Quick sharing, wide-angle stingray video |
| Mirrorless in Hard Housing | 5 to 25 feet | 120+ mins | Pro-grade resolution, raw editing flexibility |
Book your snorkeling san pedro belize experience:
Underwater Photography Best Practices for Clear Shots
The golden rule of underwater photography snorkeling is simple: eliminate the water between your lens and your subject. Water is dense. Even in pristine Caribbean conditions, five feet of water contains microscopic plankton, dissolved minerals, and tiny floating particles. The further away you stand or swim, the more contrast, color, and sharpness you lose to backscatter.
Learn to duck dive quietly. Splashing your fins on the surface alerts fish instantly, and they will turn their tails to you. Point your head down, bend at the waist, lift your legs straight into the air, and let gravity push you down without thrashing. Once you sink five or six feet down, level out your body and drift alongside the creature rather than swimming directly at it from above. Animals do not like things descending on them from above; it triggers their predator response.
Note: Never stand on coral to steady yourself for a shot. Even touching brain coral or sea fans with fin tips can strip their protective mucous layer, leaving the colony vulnerable to lethal black-band disease.
Watch your breathing rhythm. When you suck in air, your chest expands and you float upward like a cork. Exhaling slightly before you dive reduces buoyancy, making it easier to hover motionless next to a patch reef for four or five seconds while framing the shot. Remember to leave plenty of air to kick back up without panicking.
Angles, Composition, and Avoiding Boring Flat Photos
Looking straight down at the seabed produces flat, uninteresting images. We call this the aerial map perspective. It shows the tops of fish heads, eliminates background depth, and blends your subject into the mottled coral background. Instead, drop down so your camera sits level with the animal, or better yet, shoot slightly upward toward the glittering water surface.
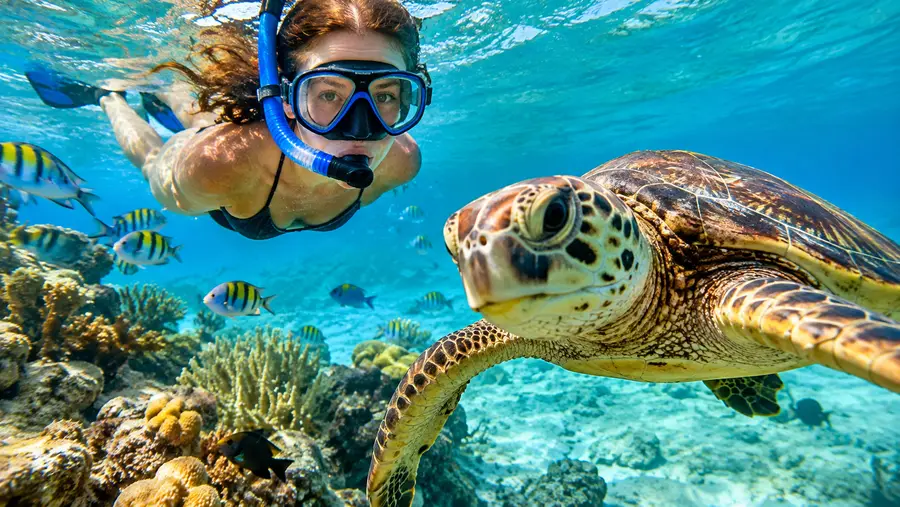
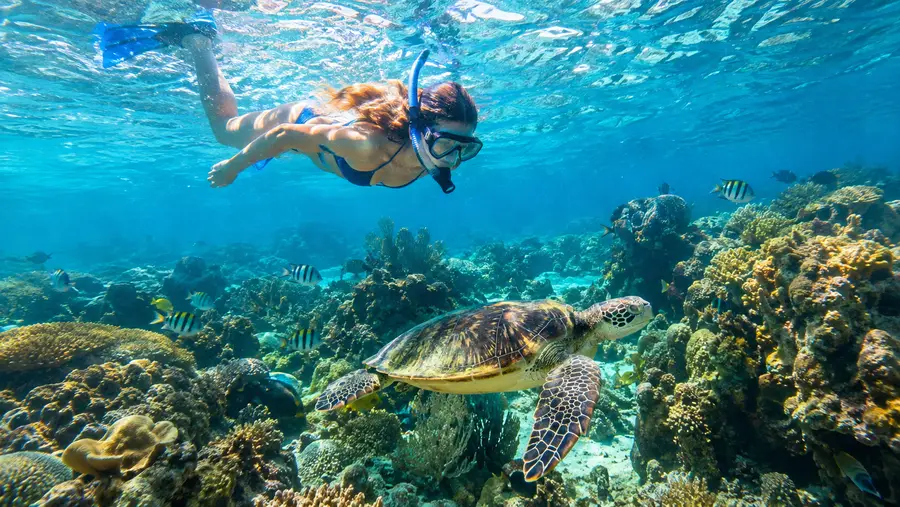
Shooting upward introduces contrast. The dark silhouette of a sea turtle framed against bright turquoise water and sunlight creates drama that catches the eye immediately. It also gives the viewer a sense of scale, showing the vastness of the Caribbean sea above the reef structure.
Take time to find natural frames among the coral. A queen angelfish swimming through an opening between two massive brain coral heads looks far more compelling than that same fish swimming through empty blue water. Look for leading lines in the sand channels between spur-and-groove reef formations. If you want calmer, shallower water to practice framing these details without fighting boat traffic, you might enjoy visiting Mexico Rocks, the quietest snorkel spot in San Pedro, where shallow patch reefs sit protected from ocean swells.
Pay attention to your background colors. Try to compose your image so the yellow or silver fish sits against a deep blue water column rather than busy, brown staghorn coral where it might visually disappear.
Color Correction and Simple Post-Processing
Even with great sunlight, your raw photos straight out of the water will probably look a little washed out. Do not discard them until you run them through basic editing software. You do not need complex tools; simple mobile apps like Lightroom Mobile or Snapseed can rescue a pale photo in about thirty seconds.
Start by adjusting the white balance slider toward the warmer side, adding amber tones to neutralize cold water cast. Next, push the tint slider slightly toward magenta to counteract green murky tones. Pulling down the highlights helps recover blown-out sun rays on the surface, while lifting the shadows reveals intricate patterns under coral overhangs where nurse sharks like to sleep.
Use the dehaze tool sparingly. Adding 10 to 15 points of dehaze cuts through floating particulate noise, but pushing it too hard introduces ugly dark halos around fish silhouettes. A tiny bump in vibrance rather than saturation keeps the vivid blues of the Caribbean looking natural without turning your friends' skin orange.
Frequently Asked Questions about underwater snorkeling photography tips
Do I need an expensive red filter for snorkeling in Belize?
Usually no. Red filters are designed for scuba depths past twenty feet where red light disappears completely. In shallow water under ten feet, a red plastic filter often turns your photos unnatural magenta. You are better off shooting raw and adjusting white balance later.
How do I stop my camera housing from fogging up inside?
Seal your camera housing in your air-conditioned hotel room an hour before heading out, not on a humid, hot boat deck. Drop one or two small silica gel desiccant packs inside the housing along the edges to absorb any ambient moisture trapped inside.
What is the biggest mistake beginner snorkel photographers make?
Shooting from too far away. Snorkelers often try taking photos of stingrays from ten or fifteen feet above the surface, resulting in tiny, hazy subjects. Move smoothly, get within three to four feet, and frame the animal filling at least a third of the viewfinder.
Quick Reference
- Shoot between 10 AM and 1:30 PM for peak light
- Keep shutter speed at 1/250s or faster
- Get within 3 to 4 feet of marine life
- Never use digital zoom underwater
- Shoot level or upward, never straight down
Book your snorkeling san pedro belize experience:
Wrapping Up
Taking great photos on the reef is mostly about patience, good buoyancy control, and knowing how to read the sunlight. Do not spend your entire two hours in the water staring through a two-inch LCD screen. Take your time, line up your shots when the light aligns, and then tuck the camera away for a bit to enjoy floating alongside spotted rays in the warm Belize sea. Grab a spare battery, practice your duck dives, and go capture something unforgettable on the reef.
Read more about snorkeling san pedro belize.